Today it is Easter – that means that lately I’ve spent more time in the kitchen than in front of my computer. I returned to my home town – Bialystok and I only have access to my little netbook. :) Great thing is that I can connect to my machine at home through the remote desktop. That is why I decided to write less technical post this time – I just wanted to tell you how easy it is to record gifs!
I found this out while writing last post – I wanted to show my selectable items in action to draw some attention. I always thought that it takes much time, but it turned out really easy.
Why would you need gifs?
When writing tutorials it is always good to show the output of the work. Frankly, sometimes when I’m looking for something, I head out straight to the summary section, when the result is usually shown. Rarely do I wish to download the whole project, install all the dependencies and try to run it, just to see whether it will satisfy my needs. That is when a good gif showing the output really comes in handy.
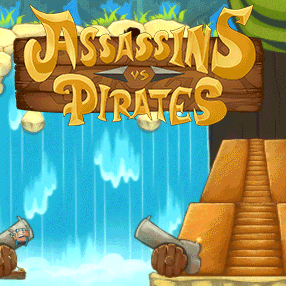
Gifs are also great at game dev marketing – showing little pieces of our work on a Facebook fan page or Twitter really boosts the audience’s attention and hype, especially when this is the only form of marketing one can afford (I’m looking at you, Indie devs! ;) ). Having people talk about the game even when it is not already launched is the best thing we can achieve – they may even be eager to preorder the game. I didn’t have to look far for a real-life example - take a look at the twitter about the game my friends are polishing right now! By the way, the game is super fun and it can be preordered here) ;).
The program
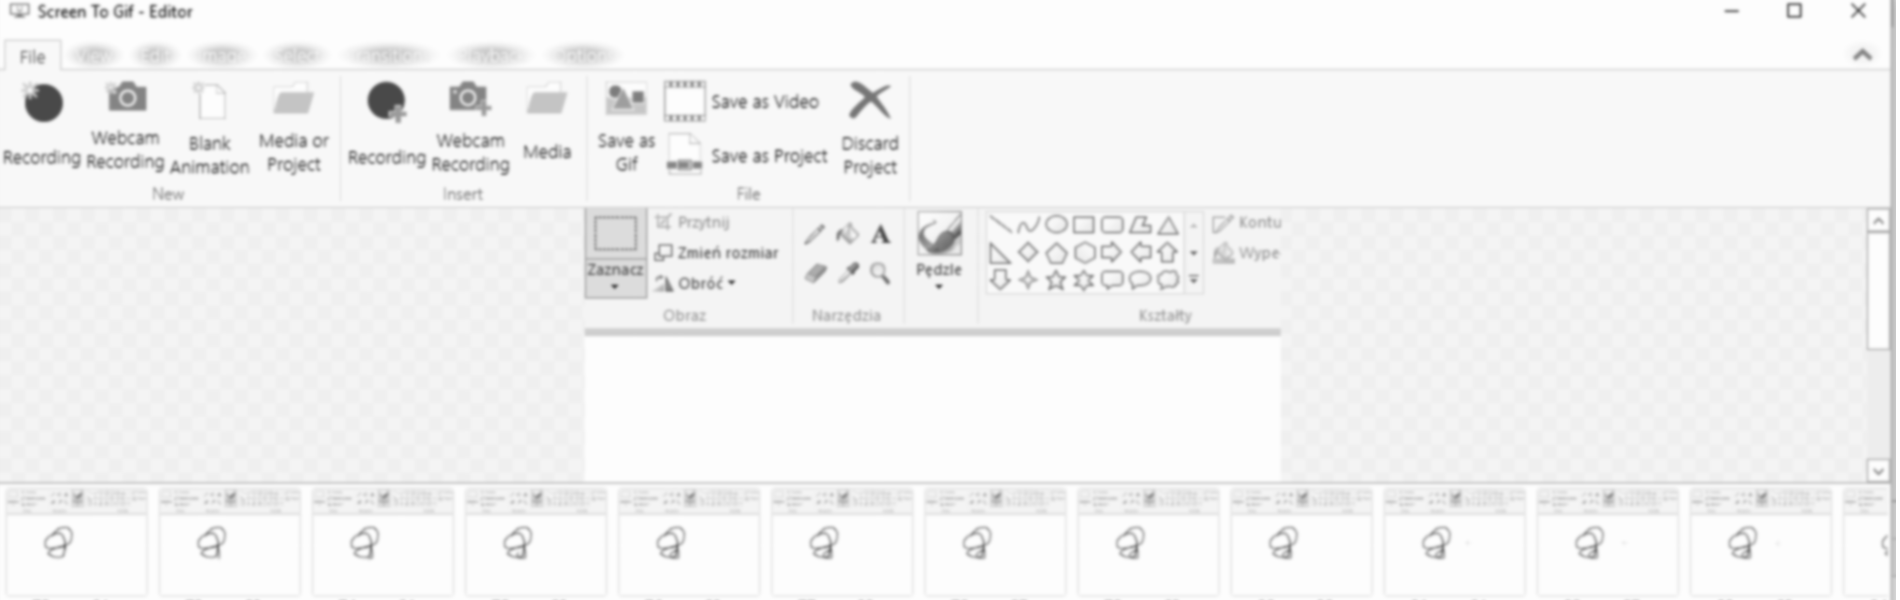
I found a really great screen recorder, which allows exporting frames as gifs. It is open source, last update was made two days ago and if you like it you can support the author. ; ) It is called ScreenToGif and is written in C#. Installation is really simple – it requires unpacking the zip file and running the application. We are greeted by a following screen:
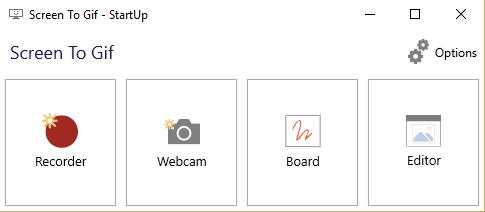
First three options present different ways of acquiring frames. The third one allows us to write something on the virtual board, the second probably captures image from the camera – I don’t have it so I couldn’t try it out. The one that is the most interesting for us now is Recorder. Choosing this option causes a practical frame to appear. This is the window that reduces the recording area. That is reeeealy great, because most of the time we will be interested in saving only a piece of our display. We can freely resize the frame and start recording. I actually managed to capture the recording process. (─‿‿─)

Then we can just click “Save as gif” and voila – we have our gif. Of course, we have some options of editing our image, such as cropping or changing the speed of frames. We can even have it played backwards:

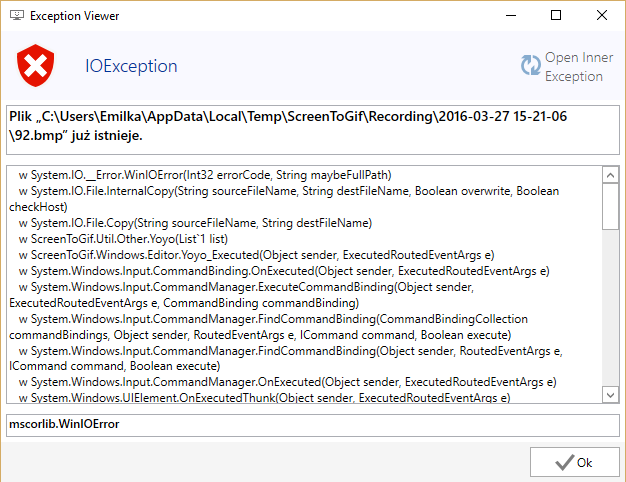
And when something blows up, there’s a neat Exception Viewer!
I leave exploring the rest of functionality for you. ;) I think such gifs can really put some life in blog posts and tutorials, and sometimes showing exactly how something should be done is worth more than thousand words and screenshots. :)
If you know about some better (and free) alternatives for ScreenToGif, let me know in the comments!
Like my fan page or follow me on Twitter to get notified when future posts appear. :)
comments powered by Disqus